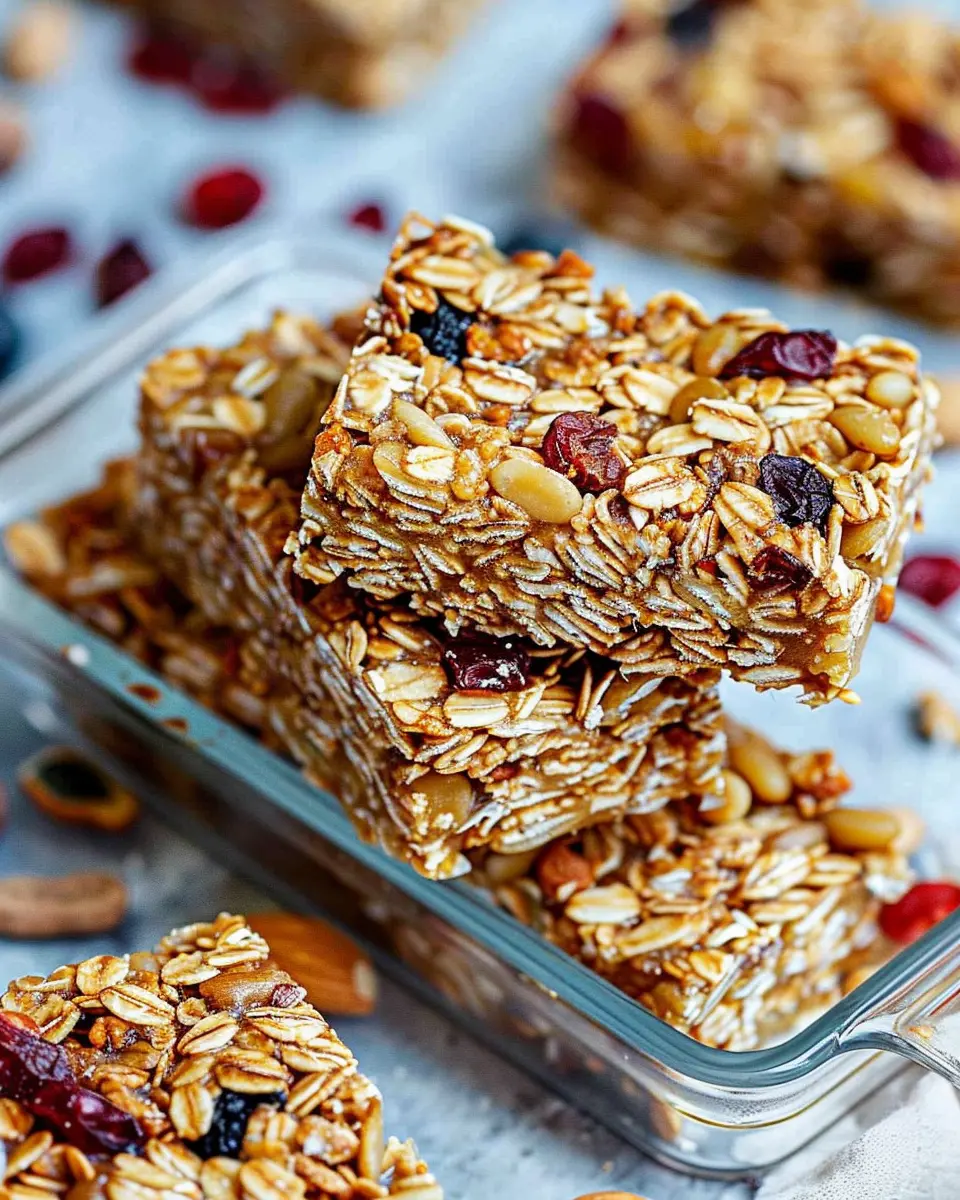
Introduction to Homemade Nut-Free Granola Bars
Creating your own homemade nut-free granola bars offers a delightful and practical approach to snacking, especially during those sun-filled beach picnics. But why go the homemade route? For starters, convenience plays a crucial role. Pre-packaged bars can be loaded with preservatives and sugars none of us truly need, while homemade versions allow you to control each ingredient. You can get creative with flavors that suit your palate perfectly, whether that’s adding chocolate chips, dried fruits, or the crunchiness of seeds.
Moreover, take a moment to consider the environmental impact. By making your own, you’re reducing packaging waste, contributing positively to our planet while enjoying tasty treats. Plus, there’s something genuinely satisfying about crafting a snack from scratch, don’t you think?
The Benefits of Nut-Free Options
Homemade nut-free granola bars are particularly helpful for those with nut allergies—an important consideration today, as allergies among children continue to rise. According to the CDC, about 5% of children in the U.S. have food allergies, making nut-free snacks essential. By opting for nut-free recipes, you’re ensuring everyone at the picnic can join in on the fun without worry.
Not only are they safe for kids and adults alike, but nut-free granola bars can also be packed with healthier alternatives like seeds (like sunflower or pumpkin), oats, and even puffed rice. These ingredients provide excellent sources of energy and nutrients without the allergy risk associated with nuts.
Aside from being allergy-friendly, they can be an excellent source of fiber, protein, and healthy fats. For example, adding chia seeds offers Omega-3 fatty acids while giving your bars an added texture. Plus, you can sneak in various fruits for some natural sweetness, thus avoiding excessive sugars that come from store-bought options.
So, grab your mixing bowl and let’s mix up some homemade nut-free granola bars that are not only delicious but also incredibly versatile for any picnic activity! Want to learn more about the health benefits of homemade snacks? Check out this beneficial guide on healthy eating for insights and tips.
Ingredients for Nut-Free Granola Bars
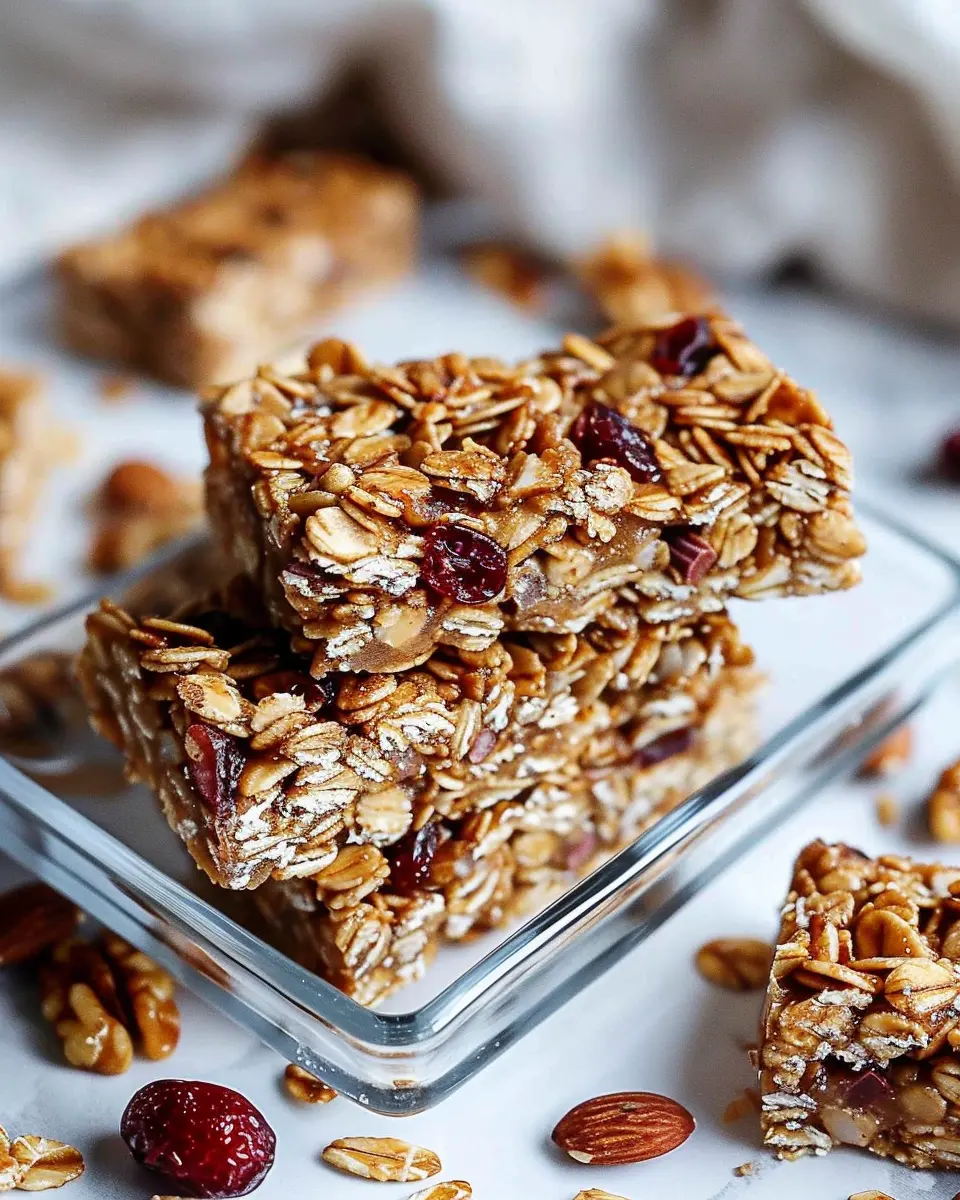
Creating your own homemade nut-free granola bars is a delightful way to embrace healthy snacking, especially when gearing up for a beach picnic. Let’s dive into what you’ll need to whip up these delicious treats.
Key ingredients you’ll need
To start, gather these essential ingredients:
- Rolled oats: The backbone of your granola bars, providing fiber and wholesome texture.
- Rice cereal: For that extra crunch without nuts.
- Honey or maple syrup: Nature’s sweeteners to bind everything together and add flavor.
- Coconut oil: A healthy fat that helps your bars hold their shape while keeping them moist.
- Salt: A pinch to enhance the flavors.
These ingredients lay the perfect foundation for a tasty treat.
Optional add-ins for extra flavor
Looking to jazz things up a bit? Here are some fun add-ins that can elevate your homemade nut-free granola bars:
- Dried fruits: Think cranberries, apricots, or raisins for natural sweetness.
- Seeds: Pumpkin or sunflower seeds for an extra nutritional boost.
- Chocolate chips: For a touch of indulgence—dark or dairy-free options work well.
- Spices: Cinnamon or vanilla extract can add delicious warmth and depth.
Experiment with these ingredients to find your favorite combination! For more inspiration, check out Healthline about nutritious snack ideas. Remember, the beach is calling—let’s make these bars perfectly portable!
Preparing Nut-Free Granola Bars
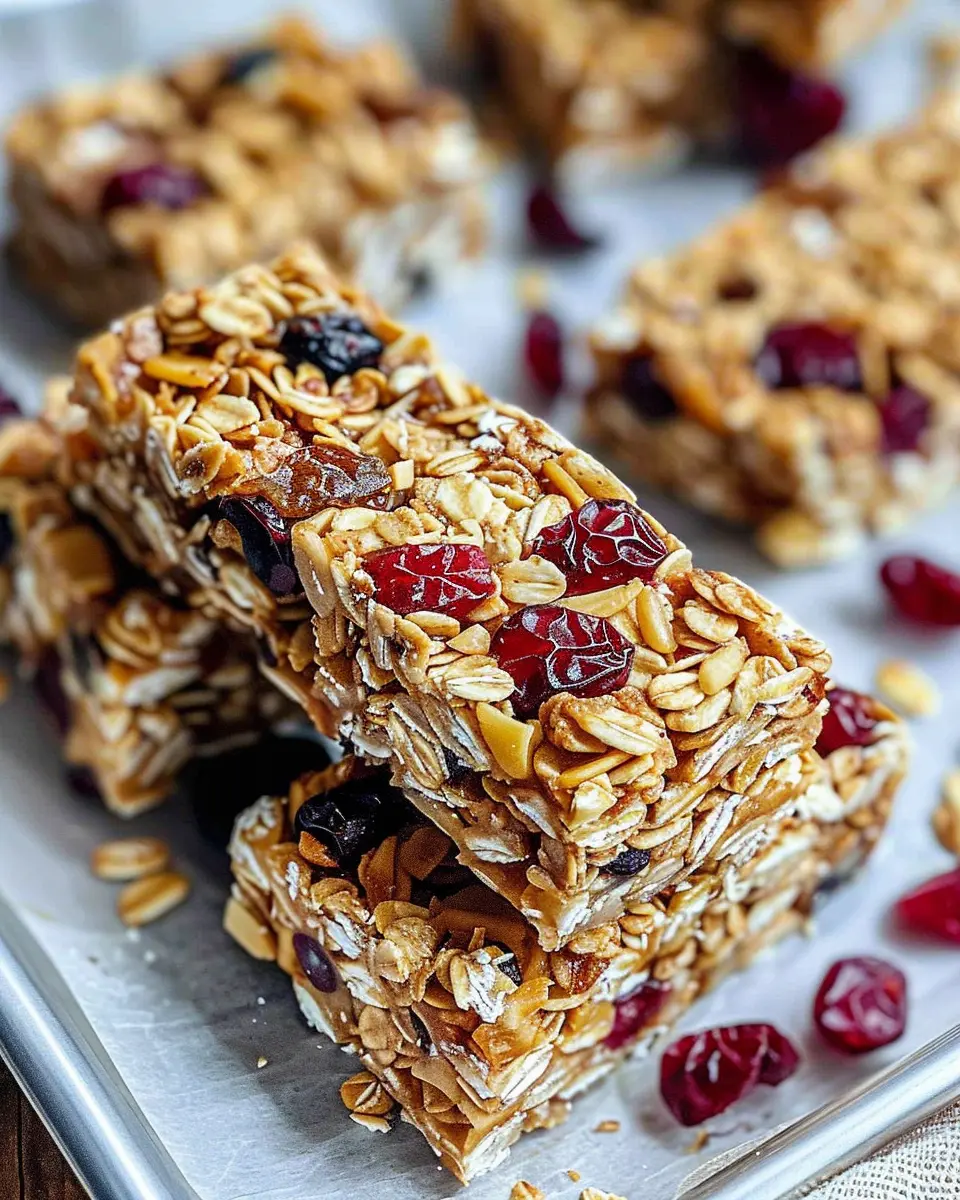
Homemade nut-free granola bars are versatile snacks packed with energy and flavor, making them perfect for beach picnics. You’re probably excited to try this recipe—so let’s dive in and make the preparation simple and enjoyable!
Gather Your Ingredients
Before you start cooking, the first step is to assemble all your ingredients. This makes the whole process smoother and more fun. Here’s what you’ll need:
- Oats: Rolled oats work best as they provide a chewy texture and are the base of your granola bars.
- Seeds: Pumpkin seeds and sunflower seeds are excellent nut-free options, adding crunch and nutrition.
- Sweetener: Honey or maple syrup not only sweetens your bars but helps bind them together.
- Fruit: Dried fruits like cranberries or dates add natural sweetness and flavor.
- Spices: A pinch of cinnamon or vanilla extract can elevate the taste.
- Coconut oil: This will keep your ingredients together and add a nice flavor.
Make sure all your ingredients are nut-free, especially if you’re packing them for friends or family who may have allergies.
Mix the Dry Ingredients
In a large bowl, combine your dry ingredients. Start by adding:
- 2 cups of rolled oats
- 1 cup of seeds (mix it up with pumpkin, sunflower, or flax)
- 1 cup of dried fruit
Stir everything together until the ingredients are evenly distributed. The goal is to ensure that each bar has a little bit of everything. From experience, I like to use a large wooden spoon for this; it feels more personal and homey.
Combine Wet Ingredients
Next, you’ll want to mix the wet ingredients in a separate bowl. Here’s what to include:
- ½ cup of honey or maple syrup
- ¼ cup of melted coconut oil
- A dash of vanilla extract (optional, but recommended for extra flavor)
Whisk these ingredients together until well combined. This step is essential because the wet mixture will bind your bars and provide that deliciously sticky texture you crave!
Combine Wet and Dry Mixtures
Now comes the fun part—combining the wet and dry mixtures. Pour your wet ingredients into the dry bowl, and use your spoon to stir until everything is well-coated. Make sure you get every bit of oats and seeds moist! This step is crucial for the texture and taste of your homemade nut-free granola bars. It should feel sticky but not runny.
Press into a Baking Dish
Once everything is thoroughly mixed, it’s time to transfer your mixture into a baking dish. Here’s a tip: line the dish with parchment paper for easy removal later. Pack down the mixture firmly into the dish with your hands or the back of a spatula. The tighter you pack it, the better your bars will hold together post-chill.
Chill Before Cutting
Finally, place your baking dish in the refrigerator for at least one hour. Chilling will help solidify your bars and make them easier to cut. If you’re in a hurry (and who isn’t?), even 30 minutes can work.
Once chilled, take them out and cut into bars or squares according to your preference. You can wrap them individually for easy snacks on the go or for your beach picnic.
Making these homemade nut-free granola bars is not just easy; it’s a great way to gauge your culinary skills while enjoying a treat that’s both delicious and healthy. They’ll not only fuel your beach day but also leave you with the satisfaction of having made something wholesome from scratch! Enjoy your snacking!
Variations on Nut-Free Granola Bars
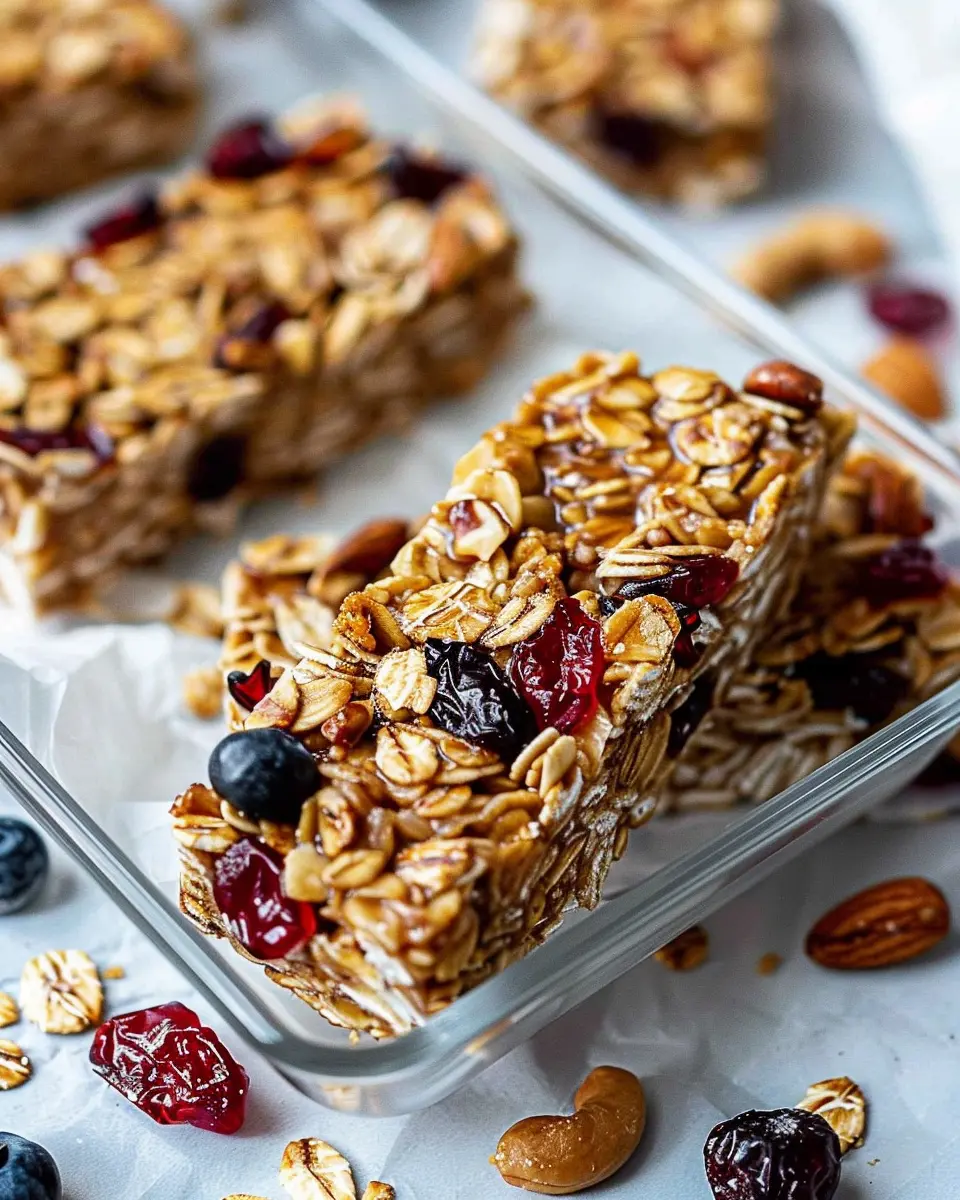
Creating homemade nut-free granola bars opens up a world of delicious possibilities! Here are two delightful variations that you can easily whip up for your beach picnics.
Tropical Twist Granola Bars
Escape to a Hawaiian paradise with these tropical twist granola bars. The combination of coconut flakes, dried pineapple, and mango will have you dreaming of sun-kissed shores. Here’s how to bring a fruity flair to your bars:
- Ingredients:
- 1 cup rolled oats
- 1/2 cup coconut flakes
- 1/3 cup honey or maple syrup
- 1/2 cup dried pineapple
- 1/4 cup dried mango
- Optional: a sprinkle of chia seeds for added nutrition.
Mix these ingredients in a bowl until well-combined, then press them into your pan and refrigerate. Once set, cut into bars to enjoy a taste of the tropics!
Chocolate Chip Granola Bars
Who can resist the allure of chocolate? These chocolate chip granola bars are perfect for satisfying your sweet tooth while remaining healthy. Here’s a straightforward recipe:
- Ingredients:
- 1 cup rolled oats
- 1/2 cup crispy rice cereal
- 1/3 cup honey or agave syrup
- 1/2 cup mini chocolate chips
- A pinch of sea salt.
Combine the oats, rice cereal, and chocolate chips, then mix in the honey. Press the mixture into a lined pan. After chilling, you’ll have delicious bars that are a hit with both kids and adults alike!
These creative recipes allow you to indulge without compromising on dietary needs. For more inspiration, consider browsing Whole Foods or Nutrition Stripped for additional tips and ideas on healthy snacking.
Make your next beach outing memorable with these unique versions of your homemade nut-free granola bars!
Cooking Tips for Nut-Free Granola Bars
Ensuring Your Bars Don’t Crumble
When making homemade nut-free granola bars, the key to achieving that perfect chewy texture lies in how you bind your ingredients. Opt for sticky sweeteners like honey or maple syrup, as they help hold everything together. If your mixture feels too dry, consider adding a splash of nut-free nut butter or coconut oil to create a cohesive blend. Pressing down firmly in the pan is essential—this ensures that your bars solidify into a delightful snack rather than falling apart.
Storing for Freshness
To keep your nut-free granola bars fresh and tasty, store them in an airtight container at room temperature for up to a week. For longer storage, feel free to refrigerate them, or even freeze individual bars wrapped in parchment paper for quick access later. This not only preserves their flavor but also helps maintain that chewy texture you crave. For more storage tips, visit The Spruce Eats to ensure your snacks are as delicious as the day you made them!
Serving suggestions for Nut-Free Granola Bars
Perfect pairings for snacks
Homemade nut-free granola bars are incredibly versatile, making them a fantastic option for various snack pairings. Try serving them with:
- Fruit spreads: A dollop of raspberry or strawberry jam adds a delightful sweetness and complements the textures beautifully.
- Greek yogurt: For a protein boost, slice your granola bars into bite-sized pieces and enjoy them with a scoop of creamy Greek yogurt. You can also drizzle some honey for added flavor.
- Fresh fruit: Pairing with apple slices, banana halves, or even a handful of berries enhances the nutritional value and creates a vibrant snack plate.
Ideas for serving at gatherings
Whether you’re hosting a beach picnic or a casual gathering, your homemade nut-free granola bars can shine as a crowd-pleaser. Consider these fun serving ideas:
- Charcuterie board: Incorporate your granola bars into a charcuterie board alongside turkey bacon, chicken ham, and various cheeses. This creates an appealing and diverse spread.
- Brunch buffet: Cut the bars into smaller squares and set them out at a brunch spread, complemented by coffee or herbal teas.
- Party favors: Wrap individual bars in colorful parchment and label them for guests to take home—a sweet reminder of a fun day spent together!
These serving suggestions not only enhance the flavor but also elevate the overall experience, making your nut-free granola bars a hit at any gathering. For more information about nutrition and healthy snacking, check out the American Heart Association.
Time breakdown for Nut-Free Granola Bars
Preparation time
Creating your homemade nut-free granola bars is a breeze! You’ll need about 15-20 minutes to prep all your ingredients. This easy assembly can include oats, seeds, and sweeteners, making it a fun and quick task, especially if you love kitchen experiments.
Chilling time
Once your ingredient blend is in the pan, it’s time for some downtime in the fridge. Let those delicious bars chill for at least 2 hours to firm up. Trust us, this step is crucial for achieving that perfect chewy texture!
Total time
In total, you’re looking at roughly 2 hours and 20 minutes from start to finish. This is a small investment for such a tasty and healthy snack! With your homemade nut-free granola bars ready, you’ll always have a delightful treat for beach picnics or after-work snacks. For more tips, check out this article on granola variations.
Nutritional facts for Nut-Free Granola Bars
When prepping for a fun-filled day at the beach, it’s essential to pack snacks that are both satisfying and nutritious. Let’s delve into the nutritional facts of these homemade nut-free granola bars, a perfect choice for your outing.
Calories per bar
Each bar contains approximately 150-200 calories, making them an ideal snack to keep your energy levels up without the unnecessary calorie overload.
Protein content
Looking for a protein boost? These bars pack around 4-6 grams of protein per bar, depending on the ingredients you choose. Incorporating options like seeds or protein powder can enhance this further!
Fiber content
With about 2-4 grams of fiber per bar, you’ll find these bars help keep you feeling full and satisfied throughout the day. Fiber is critical for digestive health and can help maintain a steady energy release.
These homemade nut-free granola bars are not just tasty; they’re a great way to fuel your beach day adventures while keeping your health goals in mind. If you want to learn more about nutritional content, check out the USDA Nutrient Database for detailed info.
FAQs about Nut-Free Granola Bars
Can I substitute the sweetener?
Absolutely! While honey or maple syrup are popular choices for your homemade nut-free granola bars, you can easily swap these out for alternatives like agave nectar or coconut sugar if you prefer. Just make sure to maintain the overall liquid-to-dry ratio to keep your bars from becoming too crumbly. If you’re looking for a sugar-free option, consider using a sugar substitute like Stevia or Monk Fruit. Each sweetener brings its own flavor, so feel free to experiment to find your perfect match!
How long do these granola bars last?
When stored properly, your homemade nut-free granola bars can last for up to two weeks at room temperature. For even longer storage, consider wrapping them individually and placing them in the freezer, where they can last for about three months. Just remember to let them thaw completely before enjoying them again. Perfect for beach picnics or snacking on the go!
Are there allergy considerations to keep in mind?
While these granola bars are nut-free, it’s important to think about other potential allergens. For example, oats can sometimes be processed in facilities that handle nuts, so look for brands that specify they are nut-free to avoid cross-contamination. Also, if you’re using any dried fruits or additional ingredients, check labels for gluten or dairy if those are concerns for you or your friends. Always double-check with any guests who may have allergies to ensure everyone can enjoy these tasty snacks!
For more tips on food allergies, consider visiting FARE.
Conclusion on Homemade Nut-Free Granola Bars
In wrapping up our delicious adventure with homemade nut-free granola bars, it’s clear these snacks are perfect for any seaside outing. Not only do they cater to nut allergies, but they also pack a nutritious punch, making them a wholesome option for beach picnics. Create your own variations by adding dried fruits or seeds to make them even more exciting!
Remember, these bars can be prepared in advance and stored for quick access. If you’re looking for more recipes or alternative snacks, check out Taste of Home or EatingWell for inspiration. Enjoy your beach day with energy-boosting treats that keep everyone happy and fueled!
PrintHomemade Nut-Free Granola Bars: The Perfect Treat for Beach Picnics
Enjoy homemade granola bars that are nut-free and perfect for your beach outings!
- Prep Time: 15 minutes
- Cook Time: 25 minutes
- Total Time: 40 minutes
- Yield: 12 bars
- Category: Snack
- Method: Baking
- Cuisine: American
- Diet: Nut-Free
Ingredients
- 2 cups rolled oats
- 1 cup sunflower seeds
- 1/2 cup honey
- 1/2 cup brown sugar
- 1/2 cup dried fruit (like cranberries or raisins)
- 1/2 cup coconut flakes
- 1/4 cup vegetable oil
- 1 teaspoon vanilla extract
- 1/2 teaspoon salt
Instructions
- Preheat the oven to 350°F (175°C).
- In a large bowl, mix together the oats, sunflower seeds, dried fruit, and coconut flakes.
- In a saucepan, combine honey, brown sugar, oil, vanilla, and salt over medium heat. Stir until sugar is dissolved.
- Pour the mixture over the dry ingredients and mix well.
- Press the mixture firmly into a greased baking dish.
- Bake for 20-25 minutes until golden brown.
- Allow to cool before cutting into bars.
Notes
- Store in an airtight container for up to a week.
- Experimental with different dried fruits and seeds.
Nutrition
- Serving Size: 1 bar
- Calories: 150
- Sugar: 10g
- Sodium: 5mg
- Fat: 5g
- Saturated Fat: 1g
- Unsaturated Fat: 3g
- Trans Fat: 0g
- Carbohydrates: 25g
- Fiber: 3g
- Protein: 3g
- Cholesterol: 0mg