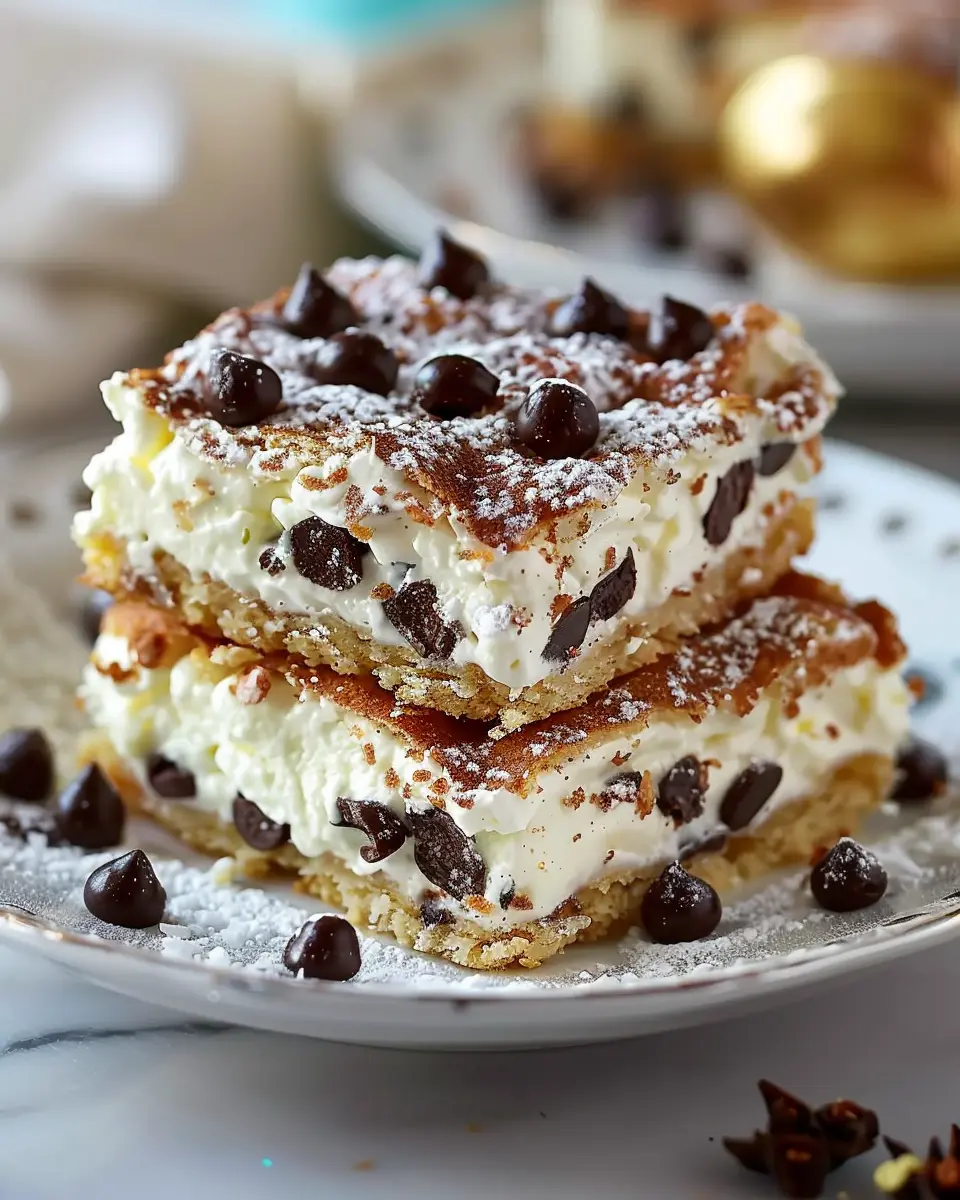
Introduction to Classic Cannoli Squares
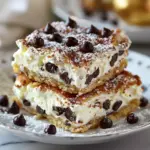
When you’re looking to impress your friends at a gathering or treat yourself after a long week, nothing hits the spot quite like a batch of classic cannoli squares. These delightful desserts encapsulate the creamy richness of traditional Italian cannoli while offering a modern twist that’s both easier to prepare and more shareable. Trust me, once you try these, you’ll wonder why you didn’t make them sooner!
Why Cannoli Squares are the Perfect Homemade Treat
Classic cannoli squares are a fantastic choice for anyone who wants to dive into the world of homemade desserts without the fuss of frying pastry shells. Here’s why they should be at the top of your dessert list:
-
Simplicity: Unlike traditional cannoli, which require skillful handling of delicate shells, cannoli squares are straightforward to make. You get all the flavor without the hassle!
-
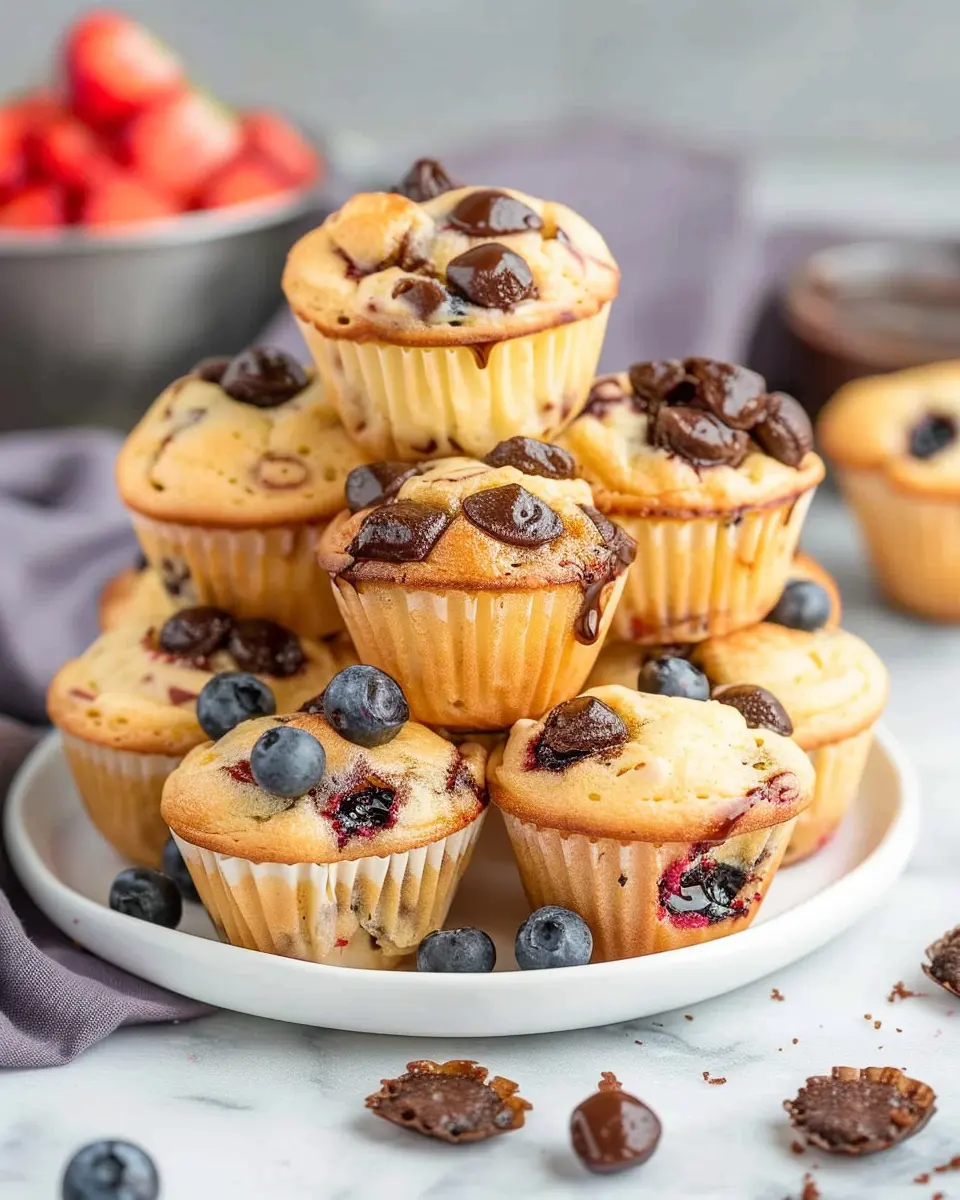
Versatility: These squares can be customized with various fillings and toppings. Think chocolate chips, nuts, or even fresh fruit! This versatility makes them perfect for any occasion—be it a birthday, a casual gathering, or even just a Tuesday night treat on the couch.
-
Shareable Fun: You can cut these squares into bite-sized pieces, making them easily shareable among family and friends. Plus, their beautiful presentation will wow anyone who lays eyes on them!
-
Rich Flavor: The combination of ricotta cheese and sweetened cream offers the classic cannoli flavor profile that fans adore. Add a sprinkle of powdered sugar and some chocolate drizzle, and you’ve transformed a simple dessert into an indulgent treat that feels special yet accessible.
For those looking for inspiration in dessert-making, engaging with the culinary community is priceless. Check out resources like Serious Eats or the Food Network for additional tips and tricks.
With these classic cannoli squares, you’re not just making a dessert; you’re creating a memory. So roll up your sleeves, gather your ingredients, and let’s get started on this delicious journey!
Ingredients for Classic Cannoli Squares
Key Ingredients for the Filling
The heart of classic cannoli squares lies in its rich and creamy filling. Here are the essentials you’ll need:
- Ricotta Cheese: Aim for whole milk ricotta for that creamy texture. It’s the backbone of any good cannoli filling.
- Powdered Sugar: This adds sweetness, which balances the richness of the ricotta.
- Vanilla Extract: A dash of vanilla enhances the flavor, giving it that extra warmth.
- Mini Chocolate Chips: These tiny bits add a delightful chocolatey crunch that’s hard to resist.
Essential Ingredients for the Crust
For the crust that encases this delicious filling, gather the following:
- Flour: The base ingredient that forms the dough. All-purpose flour works perfectly.
- Butter: Use unsalted butter for a rich flavor and crumbly texture.
- Eggs: These bind everything together and provide moisture.
- Sugar: A touch of granulated sugar adds sweetness, making the crust a treat on its own.
Optional Garnishes to Elevate Your Dessert
Want to take your classic cannoli squares to the next level? Consider these garnish options:
- Chopped Pistachios: These add a pop of color and a nutty crunch.
- Powdered Sugar: A light dusting on top creates a lovely finish and extra sweetness.
- Fresh Berries: Strawberries or raspberries not only look beautiful but also add a refreshing contrast.
By choosing these ingredients thoughtfully, you’ll craft classic cannoli squares that are not just a dessert, but a delightful experience. For more tips on perfecting your cannoli squares, check out this guide for insights from dessert experts.
Preparing Classic Cannoli Squares
Making classic cannoli squares is not just a process; it’s a delightful journey into the realm of Italian dessert magic. These squares offer all the rich flavors of traditional cannoli, wrapped up in a convenient, shareable format. Follow along as we break down each step!
Prepare the Cannoli Filling
You’ll want to start with the heart of your classic cannoli squares: the filling. For this, you’ll need:
- 2 cups of ricotta cheese (make sure it’s well-drained)
- 1 cup of powdered sugar (adjust to your sweetness preference)
- 1 teaspoon of vanilla extract
- 1/2 teaspoon of cinnamon (for that classic flavor)
- Mini chocolate chips or candied orange peel for garnish (totally optional, but who can resist?)
- In a medium-sized bowl, combine the ricotta cheese, powdered sugar, vanilla extract, and cinnamon.
- Mix until smooth and well-blended.
- If you’re using mini chocolate chips or candied orange peel, fold them in gently.
Pro Tip: Letting the filling chill in the refrigerator for about 30 minutes can enhance the flavors, making it even more delicious.
Preheat the Oven for Baking
While your filling is chilling (or developing its magic, as I like to call it), it’s time to preheat your oven. Set it to 375°F (190°C). This temperature is perfect for achieving a beautifully golden-brown crust that will hold the decadent filling.
Roll Out the Pie Crust
Next up, let’s get rolling—literally! You’ll need:
- 1 package of refrigerated pie crusts (or homemade if you’re feeling ambitious)
- Unroll your pie crust onto a lightly floured surface.
- Use a rolling pin to thin the dough slightly, ensuring it’s large enough to fit a baking dish (usually about 9×13 inches).
If you love baking, check out this guide to making homemade pie crust for a fun twist!
Spread the Ricotta Filling Evenly
Now that your crust is ready, it’s time to spread that delicious ricotta filling.
- Use a spatula to spread the filling over the rolled-out pie crust, leaving about a half-inch border around the edges.
- Smooth it out so every bite will have that lovely filling.
Don’t forget to scrape your bowl—you wouldn’t want to waste any of that creamy goodness!
Assemble the Crust and Prepare for Baking
Here comes the fun part!
- Carefully fold the edges of the pie crust over the filling.
- Crimp or press the edges to seal them well. You can also brush some egg wash on top if you want a nicer color as it bakes.
This presentation aspect makes the classic cannoli squares not only delicious but visually appealing!
Bake Until Golden Brown
Now it’s time to pop those assembled squares into your preheated oven. Bake for about 25-30 minutes, or until the crust is a beautiful golden brown.
Your kitchen will soon be filled with the incredible aroma of warm pastry—a sure sign good things are happening!
Cool and Slice Before Serving
Once baked, remove your squares from the oven and let them cool in the pan for about 10 minutes.
- Transfer to a wire rack so they can cool completely.
- Once cool, use a sharp knife to slice them into squares or rectangles.
Serve your classic cannoli squares with a dusting of powdered sugar on top for a final touch. You’ll find that these treats are perfect for sharing (or not!).
Making classic cannoli squares can become one of your favorite dessert rituals. Not only are they a crowd-pleaser, but they also provide a delightful balance of rich and creamy filling with a light and flaky crust. Enjoy the experience, and don’t hesitate to create your own spin on this classic treat!
Variations on Classic Cannoli Squares
Who doesn’t love a decadent dessert? By experimenting with classic cannoli squares, you can bring some delightful twists to this Italian favorite. Check out these scrumptious variations that can cater to different taste preferences.
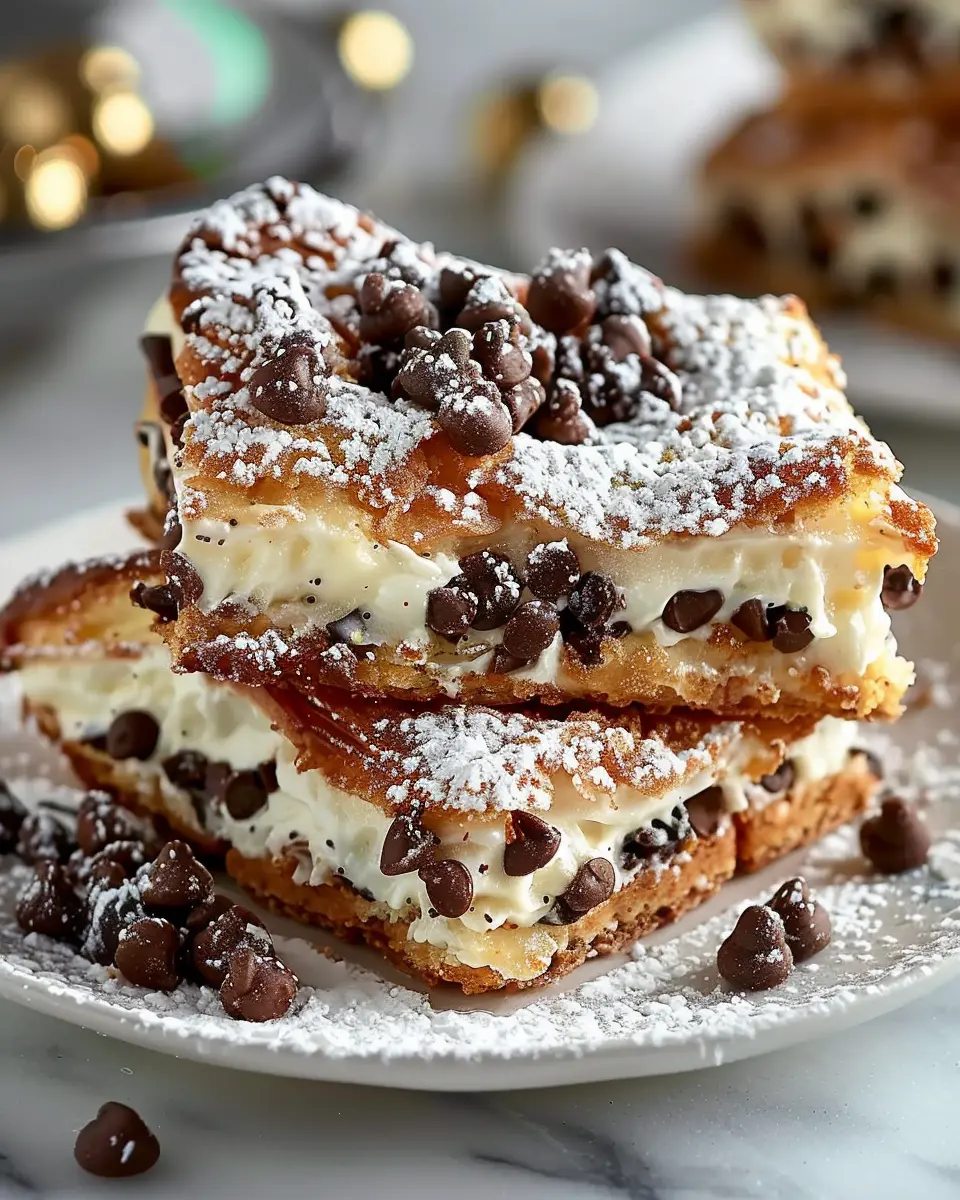
Chocolate Chip Cannoli Squares
For chocolate lovers, adding mini chocolate chips to the ricotta filling is an absolute game-changer. You can even drizzle some melted chocolate on top for an extra touch! This variation enhances the sweetness and gives you that delightful chocolatey flavor with each bite.
- Tip: Carefully fold in the chocolate chips to maintain that luscious creamy texture.
- Recommended Pairing: Serve these with a cup of espresso for a delightful balance of flavors.
Nutty Cannoli Squares with Pistachios
Bring a little crunch to your classic cannoli squares by incorporating finely chopped pistachios. These nuts not only add a beautiful color contrast but also a rich, nutty flavor that complements the creamy filling perfectly.
- What You’ll Need: Just swap out some of the chocolate chips for finely crushed pistachios, or sprinkle them on top before serving.
- Bonus Tip: For added flair, toast the pistachios lightly to enhance their flavor.
Vegan Cannoli Square Alternatives
If you’re looking for a plant-based option, creating vegan cannoli squares is easier than you think! Use almond or coconut milk ricotta paired with a natural sweetener like agave or maple syrup.
- How to Make: Blend silken tofu with your favorite sweetener and some vanilla extract for a creamy filling.
- Health Focus: This variation not only satisfies your sweet tooth but also caters to those with dietary restrictions, making it perfect for gatherings.
These tasty twists on classic cannoli squares invite everyone to enjoy a slice, no matter their dietary preferences. So, which variation will you try next? Dive deeper into your cooking with resources like Serious Eats for more creative ideas!
Cooking Tips and Notes for Classic Cannoli Squares
Tips for Achieving the Perfect Filling Consistency
To create classic cannoli squares that truly shine, focus on the filling’s consistency. Aim for a texture that’s creamy yet sturdy enough to hold its shape. Here are some quick tips:
- Use whole-milk ricotta for a richer flavor and smoother texture. Drain it well before mixing to avoid any excess moisture.
- Incorporate powdered sugar gradually; this not only sweetens but also thickens the filling. Taste as you go!
- For a touch of zest, add a splash of lemon juice or orange zest for a lovely citrus kick. Just remember, a little goes a long way.
Notes on Crust Options: Store-bought vs. Homemade
When it comes to the crust for your classic cannoli squares, you have options.
- Store-bought pastry can save time; look for high-quality options that are flaky and buttery.
- Homemade crust can elevate your dessert to a whole new level. Use a simple dough recipe, roll it thin, and chill before baking for the best results.
Feeling adventurous? Try incorporating spices like cinnamon for an added twist. For more tips on pie crusts, check out King Arthur Baking for expert advice. Your choices can affect not just the taste but the entire experience!
Serving Suggestions for Classic Cannoli Squares
Ideal accompaniments for your cannoli squares
When indulging in classic cannoli squares, it’s essential to pair them with items that enhance their creamy, sweet filling and crispy texture. Consider serving:
- Fresh Berries: Strawberries, raspberries, or blueberries offer a tart contrast that brightens every bite.
- Espresso or Coffee: The robust flavors of a well-brewed espresso elevate the dessert experience and are a traditional pairing in Italian culture.
- Whipped Cream: A dollop of lightly sweetened whipped cream can add a velvety touch that complements the cannoli squares beautifully.
- Chocolate Shavings or Chips: Sprinkle these on top for an extra indulgent chocolatey touch that many chocolate lovers will appreciate.
Creative serving ideas for gatherings
Elevate your next gathering with classic cannoli squares by presenting them in fun and creative ways. Here are a few ideas:
- Mini Dessert Boards: Arrange bite-sized squares alongside fruits, nuts, and other desserts to create a visually stunning spread that invites guests to sample a bit of everything.
- Individual Portions: Serve squares in small cupcake liners for personal treats, making them convenient for guests to grab and enjoy.
- Café Style: Present them on platters paired with to-go cups of coffee or tea, allowing everyone to enjoy a café experience at home.
By thoughtfully curating these serving suggestions, you can transform simple dessert moments into memorable experiences. For additional crowd-pleaser ideas, check out this link on dessert pairings for more inspiration!
Time Breakdown for Classic Cannoli Squares
When you decide to whip up some classic cannoli squares, knowing your time commitment is key. Here’s how the timing breaks down for this delicious treat.
Preparation Time
Getting started on your classic cannoli squares? Allow about 20 minutes for preparation! This includes gathering your ingredients and mixing everything just right. Pro tip: having everything measured out can speed things up!
Cooking Time
For the baking, set aside around 30 minutes. That’s just enough time to let your squares transform into a golden-brown delight. Keep an eye on them towards the end; you don’t want to overbake!
Total Time
In total, you’re looking at roughly 50 minutes from start to finish. Perfect for a quick dessert or an impressive dish for a gathering. With minimal time investment, you’re ready to impress friends and family alike. Can’t wait to dig into your classic cannoli squares?
For more tips on baking and dessert timing, check out this guide on dessert preparation.
Nutritional Facts for Classic Cannoli Squares
When you’re savoring a delectable slice of classic cannoli squares, it’s good to know what you’re indulging in! Let’s break down the nutritional aspects to keep your cravings in check without sacrificing flavor.
Calories per serving
Each serving of these delightful squares packs approximately 200 calories. This makes it a sweet yet manageable treat for those moments when dessert is a must!
Protein content
These classic cannoli squares offer about 3 grams of protein per serving. While not a protein powerhouse, every little bit helps when you’re balancing a busy lifestyle!
Sugar and fat content
As for sugar, you can expect around 10 grams, bringing a satisfying sweetness. The fat content is approximately 8 grams, primarily from the rich ricotta filling. For more information on fat intake, you can check out the American Heart Association.
Enjoying classic cannoli squares in moderation can be part of a balanced diet, allowing you to treat yourself while keeping an eye on your nutritional goals!
FAQs About Classic Cannoli Squares
Can I make these cannoli squares ahead of time?
Absolutely! Classic cannoli squares are perfect for preparing ahead of time. You can make the filling and the crust separately a day in advance. Simply store the filling in an airtight container in the refrigerator and assemble the squares just before serving. This method not only saves you time but can also enhance the flavors, allowing them to meld beautifully overnight.
What’s the best way to store leftover cannoli squares?
Storing your leftover classic cannoli squares is simple! Keep them in the refrigerator in an airtight container. They typically stay fresh for up to three days. However, if you notice that the crust is starting to become too soft, you can also store the filling separately, allowing the squares to remain crispy and delicious. Just reassemble them when you’re ready to indulge again!
Can I modify the recipe for dietary restrictions?
Definitely! The versatility of classic cannoli squares means you can tailor the recipe to suit various dietary needs. Here are a few modifications:
- Gluten-Free: Use gluten-free flour for the crust.
- Dairy-Free: Substitute the ricotta cheese with dairy-free alternatives like cashew cream or coconut yogurt.
- Sugar-Free: Replace sugar with a sugar substitute of your choice. Check out Healthline for more information on sugar alternatives.
Don’t hesitate to get creative—experimenting can lead to delightful new variations that suit your taste and dietary preferences! If you have other questions, feel free to ask in the comments. Happy baking!
Conclusion on Classic Cannoli Squares
Creating homemade treats is a delightful way to share joy and memories with loved ones. Classic cannoli squares are not just a dessert; they are a celebration of flavors and textures that can elevate any gathering. As you indulge in the creamy ricotta filling and flaky crust, you might find yourself reminiscing about family gatherings and time-honored traditions.
I wholeheartedly encourage you to try this recipe! With straightforward steps and accessible ingredients, you’ll whip up these delectable squares in no time. For more tips on perfecting your baking skills, check out Baker’s Illustrated, and discover a world of delicious possibilities. You’re only a few steps away from a scrumptious experience that could become a staple in your recipe collection!
PrintClassic Cannoli Squares: Easy Indulgence for Homemade Delight
Indulge in the delightful taste of Cannoli Squares, a sweet and creamy dessert perfect for any occasion.
- Prep Time: 20 minutes
- Cook Time: 20 minutes
- Total Time: 40 minutes
- Yield: 12 servings
- Category: Desserts
- Method: Baking
- Cuisine: Italian
- Diet: Vegetarian
Ingredients
- 1 cup all-purpose flour
- 1/2 cup granulated sugar
- 1/4 cup unsalted butter, softened
- 1 large egg
- 1 teaspoon vanilla extract
- 1 cup ricotta cheese
- 1/2 cup powdered sugar
- 1 teaspoon cinnamon
- 1/2 cup mini chocolate chips
- 1 tablespoon orange zest
Instructions
- Preheat the oven to 350°F (175°C).
- In a mixing bowl, cream together the butter and sugar until light and fluffy.
- Add the egg and vanilla extract, mixing well.
- Gradually add in the flour and mix until combined.
- Spread the mixture into a greased baking dish and bake for 20 minutes.
- While the base is baking, prepare the filling by combining ricotta cheese, powdered sugar, cinnamon, chocolate chips, and orange zest in a separate bowl.
- Once the base is done, let it cool before spreading the filling on top.
- Cut into squares and serve chilled.
Notes
- For a richer flavor, let the squares sit in the refrigerator for a few hours before serving.
Nutrition
- Serving Size: 1 square
- Calories: 250
- Sugar: 18g
- Sodium: 150mg
- Fat: 10g
- Saturated Fat: 6g
- Unsaturated Fat: 3g
- Trans Fat: 0g
- Carbohydrates: 34g
- Fiber: 1g
- Protein: 4g
- Cholesterol: 40mg