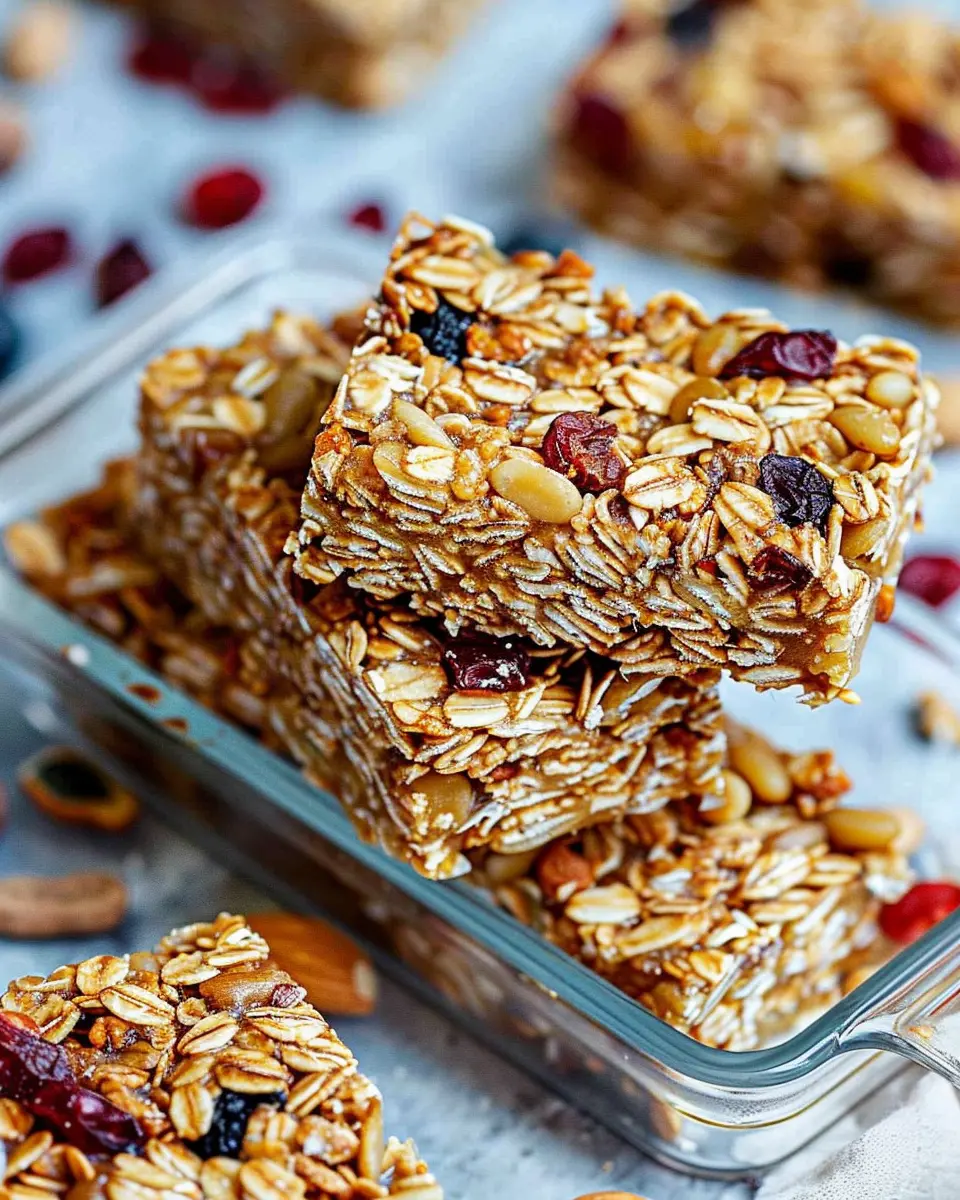
Introduction to Homemade Nut-Free Granola Bars
When you think about beach picnics, the snacks you pack can make a world of difference. Enter homemade nut-free granola bars! These little powerhouses of energy are not only delicious but can also be customized to suit your taste. So, why should you consider making your own granola bars instead of grabbing a box off the supermarket shelf?
Why choose homemade over store-bought?
The convenience of store-bought snacks is undeniable, but have you ever checked the ingredient list? Many store-bought granola bars can be packed with sugars, preservatives, and unnecessary additives. When you opt for homemade nut-free granola bars, you’re in control of what goes into your snack. You can tailor your recipe to include wholesome ingredients like oats, honey, and dried fruits while avoiding allergens like nuts.
Not to mention, making your own granola bars can save you money in the long run. With bulk purchases of oats and sweeteners, you’ll be making a budget-friendly choice that also aligns with your health goals. Incorporating wholesome ingredients often translates into better nutrition, providing you with lasting energy for those beach volleyball matches or sunset strolls.
The benefits of nut-free snacks
Creating a nut-free snacking option doesn’t limit your choices; rather, it opens up a world of possibilities. Nut allergies are more common than you might think, affecting around 1 in 50 children according to the American College of Allergy, Asthma & Immunology. By preparing these homemade nut-free granola bars, you can cater not just to your dietary needs but also to friends and family who might have sensitivities.
Plus, nut-free snacks can be lighter in calories and fat while still being packed with protein and fiber. Think about it: these granola bars can include sunflower seeds, pumpkin seeds, or even puffed rice, which add a delightful crunch and nutritional benefits without compromising on taste.
In conclusion, embracing homemade nut-free granola bars not only enhances your beach picnic experience but also promotes healthier, more inclusive snacking options. So roll up your sleeves, gather your ingredients, and let’s embark on this delicious journey together!
Ingredients for Homemade Nut-Free Granola Bars
Essential ingredients you need
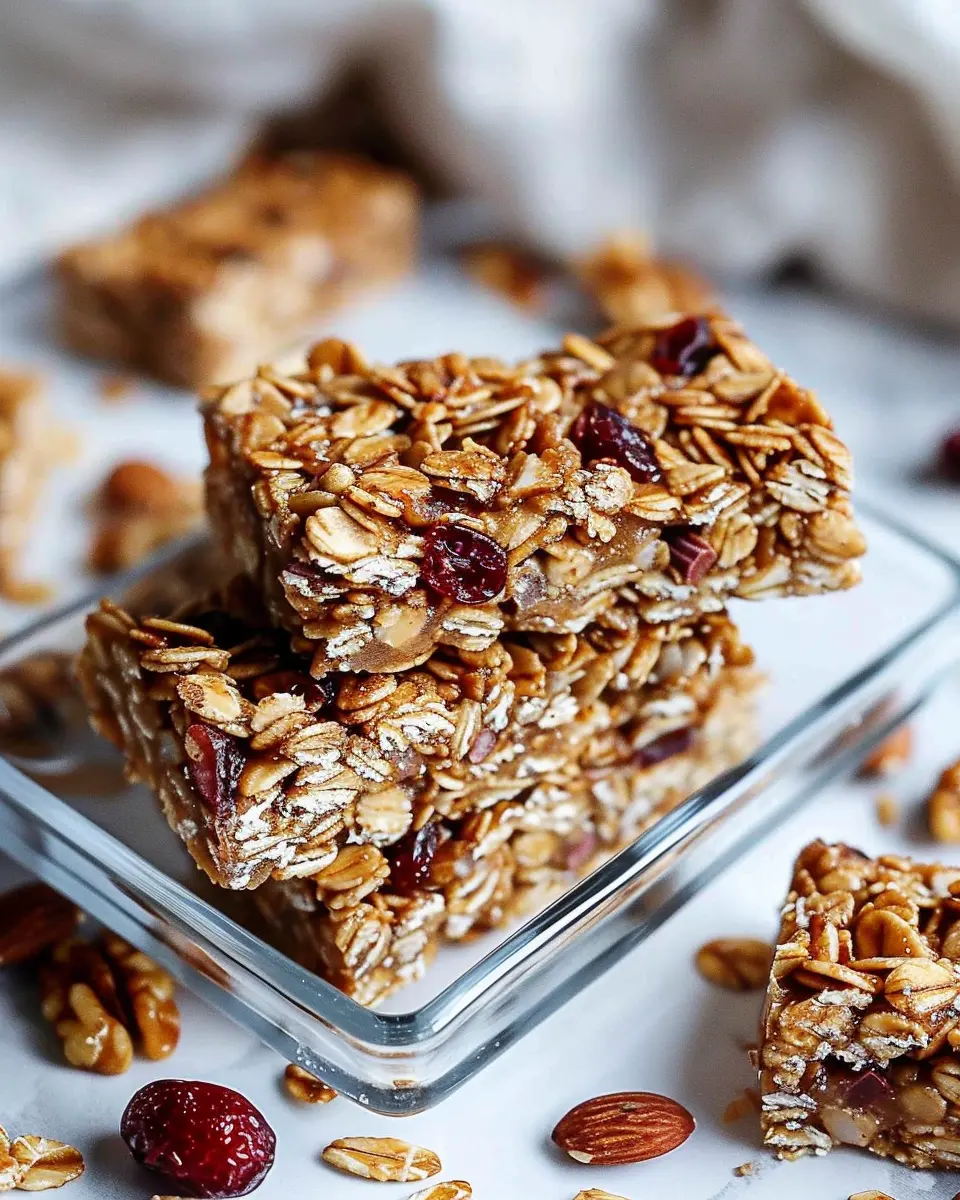
Creating your own Homemade Nut-Free Granola Bars is both fun and rewarding! To get started, you’ll need some key ingredients to ensure a chewy, satisfying texture. Here’s what’s essential:
- Rolled oats: The base of your granola bars. They provide a hearty and wholesome texture.
- Sunflower seed butter: A great nut-free alternative to add creaminess and healthy fats.
- Honey or maple syrup: These natural sweeteners not only add flavor but also help bind the ingredients together.
- Crispy rice cereal: For that delightful crunch! It lightens up the bars while adding an airy texture.
- Dried fruits: Think raisins, cranberries, or apricots—these add sweetness and a fruity flair.
Optional ingredients for additional flavor
Want to jazz up your Homemade Nut-Free Granola Bars even more? Consider incorporating:
- Flaxseeds or chia seeds: Packed with omega-3s, they boost nutrition and texture.
- Cinnamon or vanilla extract: These small additions bring warmth and depth to every bite.
- Mini chocolate chips or carob chips: For those moments when you crave something sweet and indulgent.
Feel free to experiment with these ingredients to find your perfect combination! For more ideas and tips on enjoying nut-free recipes, check out resources like The Nut-Free Chef. Happy snacking!
Step-by-step preparation of Homemade Nut-Free Granola Bars
Creating your own Homemade Nut-Free Granola Bars is not only simple but also a fun culinary adventure that will impress your beach picnic companions. With just a few easy steps, you’ll have a batch of delicious, chewy granola bars ready to pack in your cooler. Let’s dive into the detailed preparation process.
Gather your ingredients
Before you begin, round up your ingredients to ensure a smooth cooking experience. Here’s what you’ll need:
- 2 cups rolled oats – They provide fiber and bulk.
- 1 cup rice crisp cereal – For added crunch without nuts.
- ½ cup sunflower seeds – A great nut-free option for healthy fats.
- ½ cup honey or maple syrup – Nature’s sweetener to bind everything together.
- ½ cup coconut oil – Adds richness and helps in binding.
- ½ cup dried fruit (like cranberries or raisins) – For natural sweetness and chewiness.
- 1 tsp vanilla extract – A hint of flavor elevation.
- 1 tsp cinnamon (optional) – For that warm spice touch.
Feel free to add variations like pumpkin seeds or chocolate chips for extra flavor. You can find many substitutes and ideas on trusted cooking sites like Epicurious.
Mix the dry ingredients
In a large mixing bowl, combine your dry ingredients. Start by adding the rolled oats, rice crisp cereal, sunflower seeds, and dried fruit.
- Tip: Stir gently, ensuring an even distribution of all ingredients. You want every bite of your Homemade Nut-Free Granola Bars to be packed with flavor and texture.
Once mixed, sprinkle in the cinnamon if you’re using it. This step is essential to create a cohesive bar—each bite will be delightful and balanced!
Combine wet and dry ingredients
Next, it’s time to add the wet components. In a small saucepan over low heat, melt the coconut oil and honey (or maple syrup) until well combined. Once melted, remove it from the heat, then stir in the vanilla extract.
- Tip: Don’t skip the melting process—it ensures that your bars hold together when cooled.
Pour the warm mixture over your dry ingredients and mix everything thoroughly until each piece is well-coated. The margin for error here is small; the more evenly mixed, the better your Homemade Nut-Free Granola Bars will hold together.
Press into the baking dish
Now that your mixture is ready, line an 8×8 baking dish with parchment paper, leaving some overhang for easier removal later. Transfer the granola mixture into the dish.
- Tip: Use the back of a spatula or your hands to firmly press the mixture into an even layer. The more compactly you pack it, the better your bars will hold together.
Make sure the surface is smooth and even. If you want an extra crunch, you can bake it at 350°F (175°C) for about 10-15 minutes. This will toast the oats and intensify the flavor, which is fantastic for outdoor snacks like beach picnics.
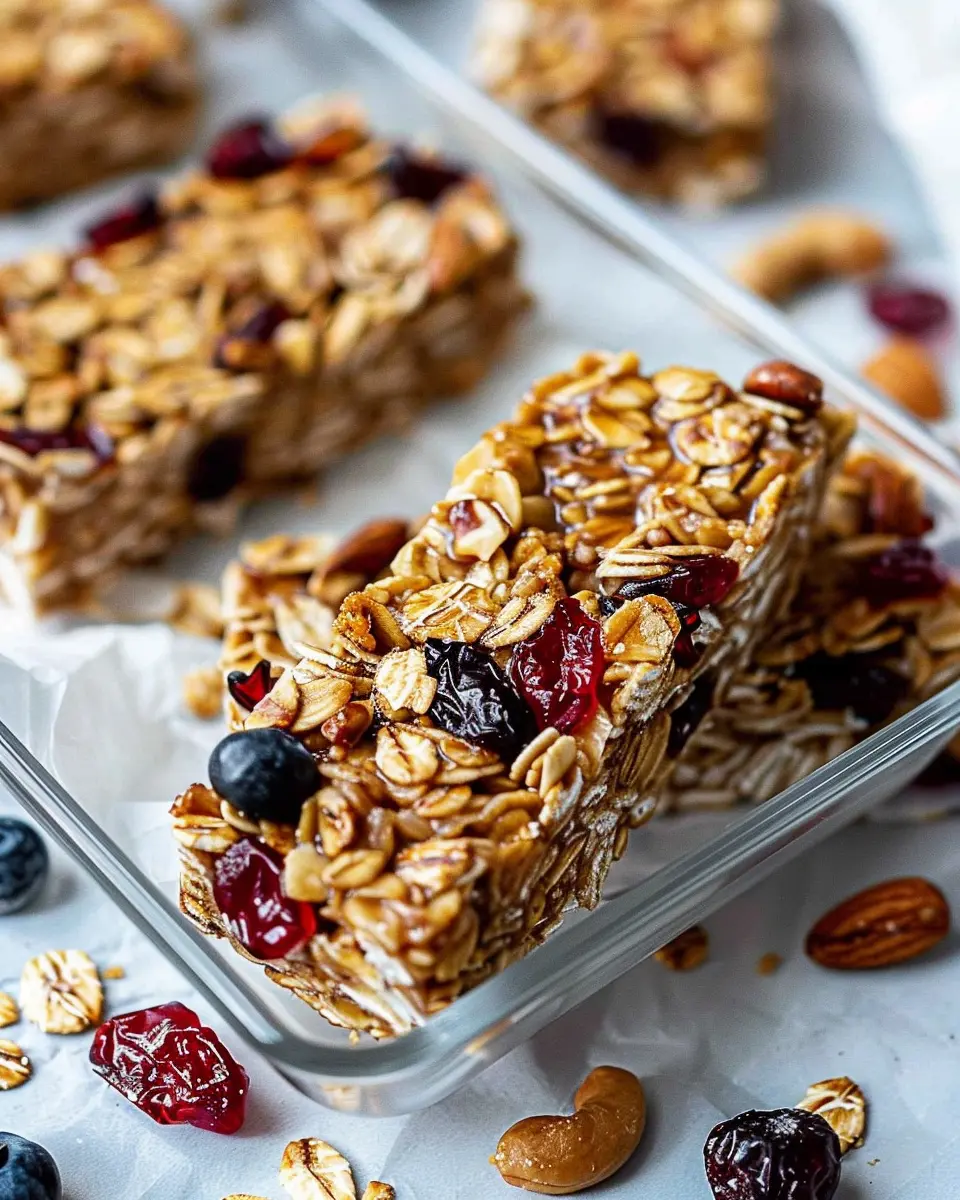
Chill and cut the bars
Once pressed into the dish, pop it into the fridge for at least 2 hours to firm up. This chilling period is crucial; it allows the bars to set perfectly for slicing.
When set, lift the parchment paper to remove the mixture from the dish. Use a sharp knife to cut it into bars or squares, whatever suits your snacking style.
- Tip: Store your Homemade Nut-Free Granola Bars in an airtight container, layered with parchment to keep them from sticking together.
Homemade granola bars are an excellent alternative to store-bought snacks, which often come with preservatives and added sugars. You can customize them to suit your taste or dietary needs. Plus, having these nutritious bites ready for your beach picnic means you can enjoy the sun without worrying about hunger on the sand. Happy snacking!
Variations on Homemade Nut-Free Granola Bars
When it comes to crafting your perfect homemade nut-free granola bars, the options are boundless. Whether you’re heading to the beach or just need a nutritious snack, these variations will keep things delicious and exciting!
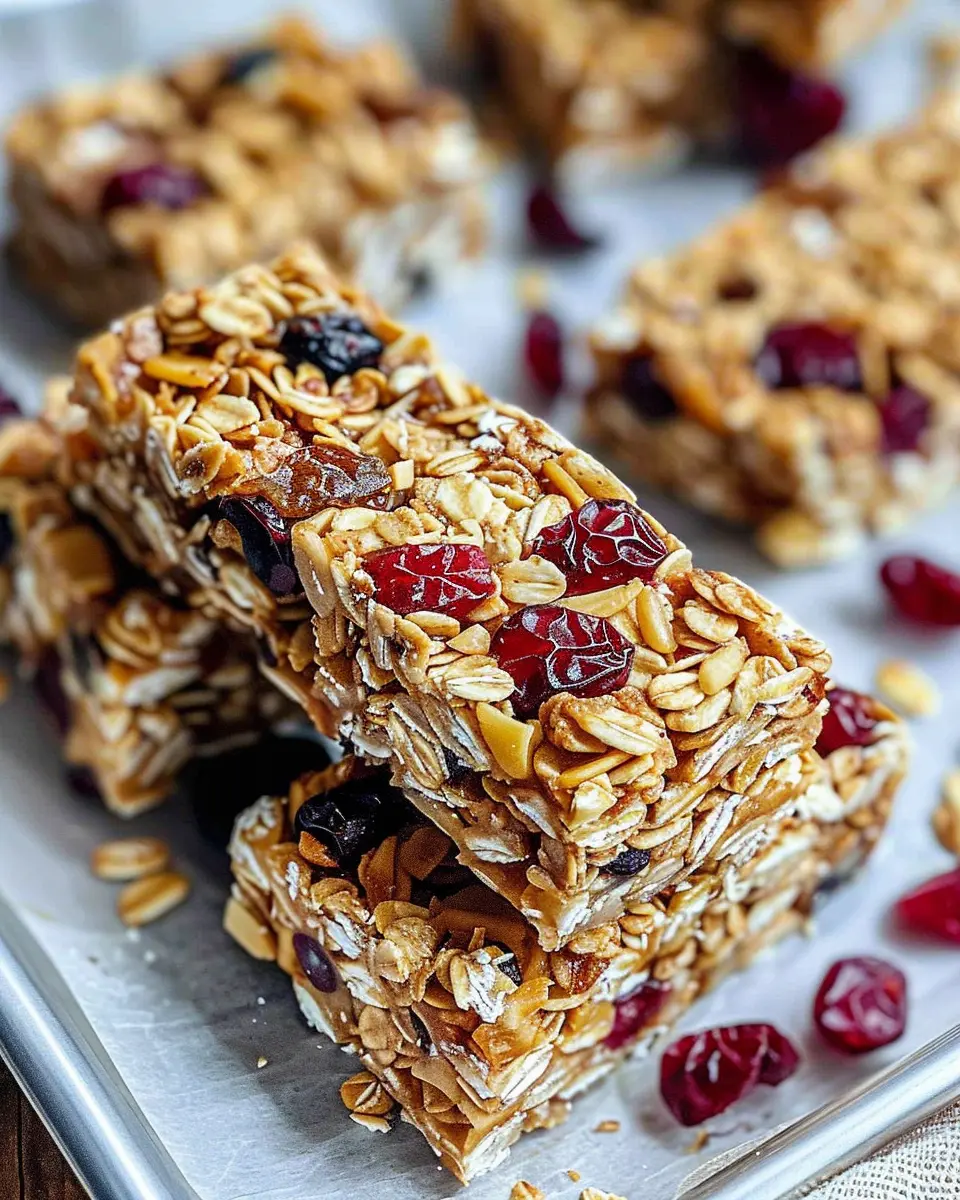
Fruity Granola Bars
Fruit lovers, rejoice! Adding dried fruits to your granola bars not only boosts flavor but also provides a nutritious punch. Consider using a blend of dried apricots, raisins, or cranberries.
- Ingredients:
- 1 cup rolled oats
- 1/2 cup sunflower seeds
- 1/2 cup dried fruits (your choice)
- 1/3 cup honey or maple syrup
- 1/4 cup vegetable oil
- A dash of cinnamon
Tip: You can substitute honey with agave syrup for a vegan option. Looking for more inspiration? Check out this guide on benefits of dried fruits to entice your taste buds.
Chocolate Chip Granola Bars
Who doesn’t love a touch of chocolate? For those sweet cravings, adding chocolate chips to your homemade nut-free granola bars can turn a healthy snack into a delectable treat.
- Ingredients:
- 1 cup rolled oats
- 1/2 cup pumpkin seeds
- 1/2 cup chocolate chips
- 1/3 cup honey or agave syrup
- 1/4 cup coconut oil
- Pinch of salt
Personal Touch: I usually sprinkle some sea salt on top before baking to enhance the chocolate flavor; it’s like a sweet and salty revelation! For a deeper dive into chocolate benefits, take a peek at this informative article on dark chocolate’s health advantages.
With these variations, your homemade nut-free granola bars will be the ultimate snack companion for your beach picnics and beyond. Mixing it up has never been so rewarding!
Cooking Tips and Notes for Homemade Nut-Free Granola Bars
Tips for Perfect Texture
Achieving the ideal texture for your Homemade Nut-Free Granola Bars is all about balance. For chewy bars, ensure you use enough sticky ingredients like honey or maple syrup; they bind everything together. On the flip side, for crunchier bars, bake them a little longer until golden brown. Just keep an eye on them! Adding ingredients like seeds or dried fruits can also enhance both flavor and texture, giving you that satisfying bite.
Storage Suggestions for Freshness
To keep your Homemade Nut-Free Granola Bars as fresh as possible, make sure to wrap them tightly in plastic wrap or store them in an airtight container. A cool, dry place is ideal, ensuring they last for up to a week. If you want to extend their shelf life, consider freezing the bars; they can stay good for up to three months. Just thaw them overnight before enjoying! Check out these storage tips for more ideas.
With these tips, you’re on your way to enjoying some scrumptious granola bars during your beach picnic!
Serving suggestions for Homemade Nut-Free Granola Bars
Pairing ideas for tasty snacks
When you’re heading to the beach, think about combining your Homemade Nut-Free Granola Bars with a variety of delicious snacks. For a refreshing bite, pack some yogurt or a fruity dip. Sliced strawberries, apples, or bananas can complement the chewy texture of your bars beautifully. If you need extra protein, consider bringing along turkey bacon or chicken ham. These savory options balance the sweetness of the bars and keep you energized all day.
How to make them travel-friendly
To ensure your Homemade Nut-Free Granola Bars make it to the beach in perfect condition, store them in an airtight container. Alternatively, wrap them individually in parchment paper for easy snacking on the go. Use a cooler bag with ice packs to keep your snacks fresh, especially if you’re including yogurt or fresh fruit. This not only preserves the taste but also prevents any melted mess in your beach bag.
For more ideas on picnic pairings, check out this helpful guide for inspiration on easy snacks that travel well. Enjoy your day soaking up the sun and savoring every bite!
Time breakdown for Homemade Nut-Free Granola Bars
When you’re gearing up for a beach picnic, knowing the time investment for your Homemade Nut-Free Granola Bars can make all the difference. Here’s a quick overview to help you plan:
Preparation time
Getting everything ready takes about 15-20 minutes. This includes gathering your ingredients and mixing them together. It’s a great way to involve friends or family and make it a fun activity.
Chilling time
Once you’ve pressed your mixture into a pan, allow it to chill for at least an hour. This step is crucial for achieving that perfect bar shape and texture.
Total time
In total, you’re looking at approximately 1 hour and 30 minutes from start to finish. With minimal effort, you’ll have a delicious, nutritious snack to fuel your beach day!
For more beach-friendly recipes, consider checking out Healthy Granola Bar Options or explore how easy it is to make nut-free snacks at home.
Nutritional facts for Homemade Nut-Free Granola Bars
Calories per bar
When making Homemade Nut-Free Granola Bars, it’s helpful to know what you’re actually munching on. Each bar normally contains around 150-200 calories, depending on your ingredient choices. This makes them a satisfying yet health-conscious snack — ideal for those beach days where you want both energy and enjoyment without overindulging.
Macronutrient breakdown
Understanding the macronutrient profile can help you make smart choices. Each bar typically has:
- Carbohydrates: About 20-30 grams, offering a quick energy boost.
- Protein: Roughly 3-5 grams, thanks to ingredients like oats and seeds.
- Fat: Approximately 6-8 grams, primarily from added oils or seeds.
For a well-rounded snack that keeps you feeling full and energized, these granola bars strike the right balance. Plus, they’re easy to adapt with your favorite dried fruits or seeds. Want an even deeper dive into nutrition? Check out resources from the USDA for detailed food data.
FAQs about Homemade Nut-Free Granola Bars
Can I use different seeds?
Absolutely! One of the best parts about making homemade nut-free granola bars is that you can customize them to fit your taste preferences. Sunflower seeds, pumpkin seeds, or even chia seeds can be great options. These seeds not only add a delightful crunch but also enhance the nutrient profile of your bars. Plus, they’re generally more affordable than nuts! Feel free to mix and match—add a tablespoon of your favorite seeds to create a unique flavor experience.
How long do they last?
When stored properly, these granola bars can last up to two weeks. If you want them to stay fresh longer, consider refrigerating them, which can extend their shelf life to about three weeks. Just be sure to keep an eye on them—nothing beats the satisfaction of indulging in a homemade nut-free granola bar that’s still fresh and flavorful!
What’s the best way to store them?
Storing your granola bars correctly is key to maintaining their freshness. You can wrap individual bars in parchment paper and place them in an airtight container or zip-lock bag. This not only keeps them fresh but also makes them super convenient for on-the-go snacking. If you have extra bars, consider freezing them. They can be stored in the freezer for up to three months! When you’re ready to enjoy, just let them thaw at room temperature, and they’ll taste as good as new.
For more tips on storing snacks, check out this helpful resource.
Conclusion on Homemade Nut-Free Granola Bars
Making your own Homemade Nut-Free Granola Bars is a fantastic way to prepare delicious and wholesome snacks without the worry of allergens. They are not only cost-effective but also customizable to suit your taste. Whether you prefer a chewy texture or a crispy crunch, these bars can be tailored to your preferences with various add-ins like dried fruit or seeds.
As you plan for those sunny beach picnics, don’t forget to pack these delightful bars! Easy to make and even easier to enjoy, they are a perfect companion for your outdoor adventures. For more tips on healthy snacking, consider checking out Health Line’s snacking guide.
By choosing these bars, you’re not just treating yourself but also making a positive choice towards nourishing your body. Enjoy the bliss of DIY snacking!
PrintHomemade Nut-Free Granola Bars: The Best Energy Boost for Beach Picnics
These homemade nut-free granola bars are the perfect energy boost for all your beach picnic adventures!
- Prep Time: 10 minutes
- Cook Time: 25 minutes
- Total Time: 35 minutes
- Yield: 12 bars
- Category: Snacks
- Method: Baking
- Cuisine: American
- Diet: Nut-Free
Ingredients
- 2 cups rolled oats
- 1/2 cup honey or maple syrup
- 1/4 cup coconut oil, melted
- 1/2 cup dried fruits (like raisins or cranberries)
- 1/4 cup sunflower seeds
- 1/4 cup pumpkin seeds
- 1/2 teaspoon salt
- 1/2 teaspoon vanilla extract
Instructions
- Preheat your oven to 350°F (175°C).
- In a large bowl, mix the rolled oats, dried fruits, sunflower seeds, pumpkin seeds, and salt.
- In a separate bowl, whisk together the honey (or maple syrup), melted coconut oil, and vanilla extract.
- Pour the wet mixture over the dry ingredients and stir until everything is well combined.
- Line a baking dish with parchment paper and pour the mixture into the dish, pressing it down firmly.
- Bake in the preheated oven for 20-25 minutes, or until golden brown.
- Allow to cool completely before cutting into bars.
Notes
- Feel free to customize the mix-ins according to your preferences.
- Try adding chocolate chips for a sweet treat!
Nutrition
- Serving Size: 1 bar
- Calories: 150
- Sugar: 8g
- Sodium: 50mg
- Fat: 7g
- Saturated Fat: 5g
- Unsaturated Fat: 2g
- Trans Fat: 0g
- Carbohydrates: 20g
- Fiber: 3g
- Protein: 3g
- Cholesterol: 0mg